The first quilt is based on an excellent online, on-demand class by artist Terry Stegmiller. The class is called Creative Art Quilting Techniques: Fused & Painted Backgrounds and is very inspiring.
This photograph shows the finished background piece with it's binding.
Without going into explicit detail out of respect for Ms. Stegmiller's clever techniques (go buy the PDF, you won't be sorry), I can say that this piece contains multiple layers of various weights of cotton, nylon and chiffon fabrics in neutral tones, machine pieced with the edges left raw. I even stitched in a drier sheet- I love the sheer texture of the fibers.
The binding was done with a length of decorative elastic I stumbled across in a "grab bag" a few months ago. It was tricky to work with and didn't want to go on too straight, but I'm still happy with the result.
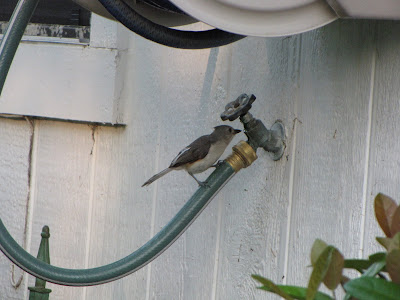
The foreground of this piece is likely to be a photo taken in my back yard of one of my many wild critter visitors, printed on a sheer piece of chiffon... that's what I envision, anyway; sometimes a piece will want to take me in another direction altogether, and I try to pay attention to those impulses.
The second piece I'm working on is inspired by the book, Stitching to Dye in Quilt Art: Colour, Texture and Distortion, by textile artist C. June Barnes.
This piece is machine pieced, something I only just (joyfully) learned to do. I used torn strips of various cotton fabrics in whites and beiges, including some soft felt from an old flannel sheet and some heavy painter's canvas, stitching each of them in turn with heavy white cotton thread to a quilt sandwich of batting and Timtex . The idea behind this quilt has always been that it would be low-immersion dyed in Procion MX fiber-reactive dyes, so everything visible on the quilt is dyeable.
Each strip of fabric contains some new (for me) free motion machine stitch patterns, some of which I like better than others. It's sort of a sampler of stitches I'm comfortable attempting right now. Should be fun to look back at this piece in ten or twenty years and see how far I've come.
The binding was a bit of an experiment. I used scraps of white and off-white fabrics and stitched them to the back of the quilt. Then I pulled them forward and stitched them to the front, leaving the edges of each scrap raw.
It makes for an interesting look, especially when the piece is laundered, which was the next thing I did to it, in preperation for dyeing it.
After gentle laundering, I soaked the quilt in soda ash and decided on the dye colors I wanted to use. The quilt soaked for about 30 minutes and then I ran it through a spin cycle in the washing machine and hung it to dry outside.
Impatient as always (and really hoping I don't pay too dearly for it), I took the piece off the line before it was totally dry and ironed some of the larger wrinkles out of it. Then I applied my dyes, although the fabric was still a little damp.
It's batching in the garage right now... can't wait to see what I wake up to in the morning! :D
I will post photos of each piece as it is completed. In the meantime, some photos for summer inspiration...


2 comments:
Both of your projects are off to a great start Judi. I am looking forward to watching their progress.
Why timtex on the back? How did you wash the dye out later? Love this idea!
Post a Comment